Establishing a New PatronBase Installation
System Requirements
The requirements for a PC to run PatronBase applications are quite modest, and almost any PC running a currently supported version of Microsoft Windows will suffice. An XGA (1024x768) or larger screen size is required.
If you are using a hosted PatronBase database, you will need a connection to the Internet. If you are going to set up your own database server, your PatronBase agent will discuss what is required with you.
Web utilities such as WebHub require an internet connection to connect to the PatronBase database, and can run inside the browser on almost any tablet, including Android and Apple iOS tablets.
Standard Installation
Normally, you will receive a link to a file you need to download to your computer. It will likely be called PBSetup.msi or something similar. Save this file to your Downloads folder, or some other place you will be able to locate it easily. Once it has downloaded, run the installer by double-clicking the file. The first screen of the installer identifies the product you are installing. Select Next to continue.

You then have the option to customise your setup. In most cases, you will simply select Next.
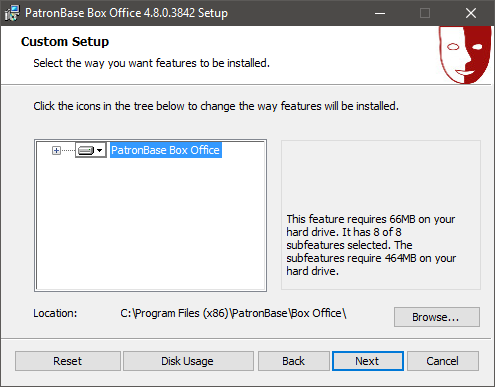
However, if you expand the list of installed items by clicking the plus symbol next to PatronBase Box Office, you will see a list of the additional packages that will be installed alongside Box Office.
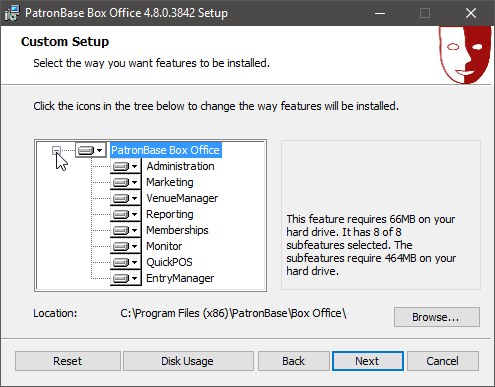
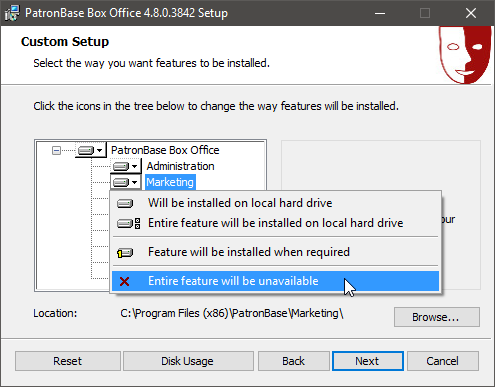
By default, all are selected for installation. You can, however, select specific packages and select Entire feature will be unavailable if you do not want to install them. Once you are satisfied with the package configuration, select Next.
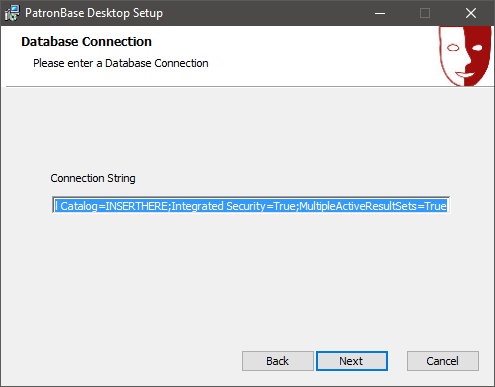
You will be prompted to supply a database Connection String. This is a special line of text that tells the PatronBase software where to find the database it is to connect to, and the software cannot work without a valid Connection String. This will normally be provided to you along with the download link for the installer. If you do not have a Connection String, talk to your support agent.
Replace the Connection String with the one you have been provided. To avoid mistyping, find the string in the email or document you have been supplied, select it, and hit CTRL+C on the keyboard to copy it. Then select the entire string in the installer window, and hit CTRL+V to paste the string you copied.
Select Next to continue.
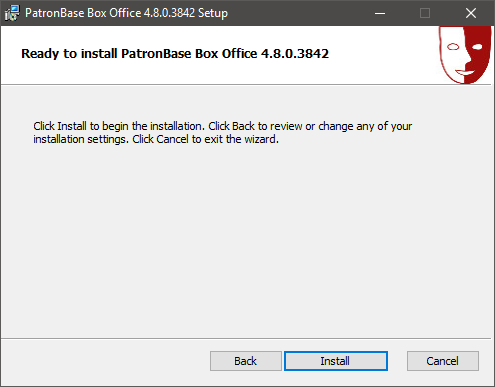
You will see that we are now ready to install the software. Select Install to continue. You will likely also see a User Account Control prompt from Windows; if so, select Yes to approve the installation.
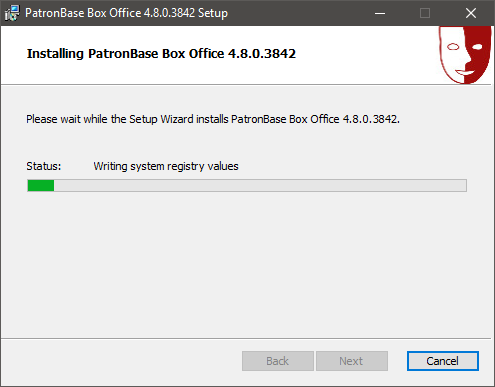
You will see a progress bar as the installation progresses.
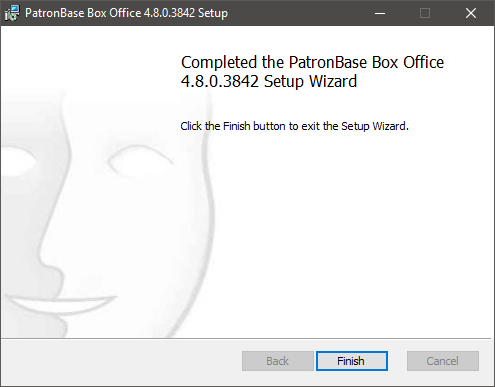
You are notified when the installation is complete. Select Finish to acknowledge the installation.
Shortcut icons are automatically added to your Windows Desktop. You can move these elsewhere on your Desktop if you prefer. You can also safely delete them, as removing them from your Desktop does not uninstall the software.
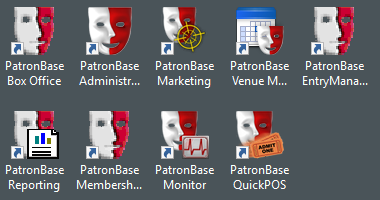
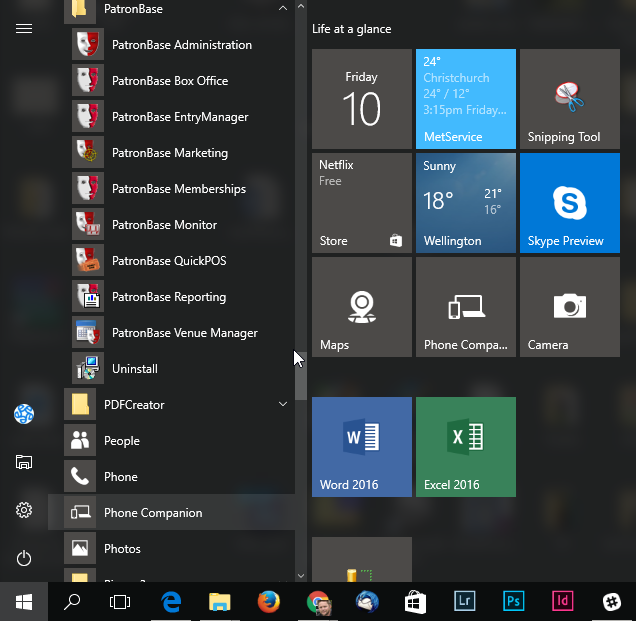
If you do not use the Desktop shortcut icons, you can always find the installed packages in a PatronBase folder in the Windows Start menu.
Getting Started
Now you need to customise and configure your installation. To make it easy to get started, many of the customisable lists and settings will have been populated with useful options that will help you get started right away, and you can change these to suit your exact requirements later.
Use the following checklist to customise some of the more organisation-specific settings:
- Identify the States, Towns, and Postcodes you need to have set up in the system.
- Fill in your organisation details in System Settings. You might also set the default state and town options while you are there.
- Set up the applicable Sales Tax rates for your operation.
- Specify the Seat Types and Book Types used by your organisation.
- Make a start on Product Categories and Products. You can add to this collection of products later, but for now you might make sure you have options for booking fees and membership subscriptions. You do not need to set up seat tickets as products. If you are using the Inventory module to manage your stock, you can set it up now, or leave it until later.
- Customise your Donor Classes.
- Set up your Member Groups, Categories, and Volunteer Roles.
- If you have a collection of patron data already, talk to your PatronBase agent about the Patron Import utility.
- Identify your Operators. Initially, it may be best to start using the Security Groups provided with the install, but you may in time wish to customise these security levels and their respective access permissions.
- Define your ticket (and stubs, receipts, etc) templates and lines. The best way to do this is to use the optional Layout Designer utility.
- Define your Venues and the other details that relate to venues.
- Define a Production and create some performances for it.
You should be able to start being productive with this initial amount of set up. You can then consider these additional aspects:
- Setting up Seasons if you are using the optional Subscription module.
- Setting up PatronPoints if you are using that optional loyalty scheme module.
- Refine some of the configurable lists: Contact Types, Phone Types, Patron Types, Payment Groups, Payment Types, Production Types, Production Categories, Departments, Projects, Referral Sources, Booking Sources, Resources.
- Set up details relating to other organisations: Promoters, Partner Roles, Production Partners, Agency Groups.
- You may have a preference to change some of the terms being used by PatronBase. A number of terms can be customised, including: Complimentaries, Department, the sales tax term, PatronPoints, Patrons, Performances, Print@Home, Productions, Seasons, Seats, Sponsor, Subscriber, Stage, Supporter/Member, Venues, and terms printed on tickets such as PAID, REPRINT, and UNPAID. These can be changed in the System Properties, but care must be taken when changing these settings, and you should talk with PatronBase support staff before making these changes.